Clock Cube Tutorial
Introduction
The Rubik’s Clock has four rotating gears on its corners and four buttons that control the movement of the clock hands. The goal is to align all clock hands to 12 o’clock on both sides of the cube.
Step-by-Step Solution for the Clock Cube
Step 1: Understanding the Notation
Before starting, familiarize yourself with the clock notation:
- U (Up Button): Button at the top left.
- D (Down Button): Button at the bottom-right.
- L (Left Button): Button at the top-right.
- R (Right Button): Button at the bottom left.
- Clockwise Rotation (+): Turn the dial clockwise.
- Counterclockwise Rotation (-): Turn the dial counterclockwise.
The four corner gears are also important:
- Top Left (TL) Gear
- Top Right (TR) Gear
- Bottom Left (BL) Gear
- Bottom Right (BR) Gear
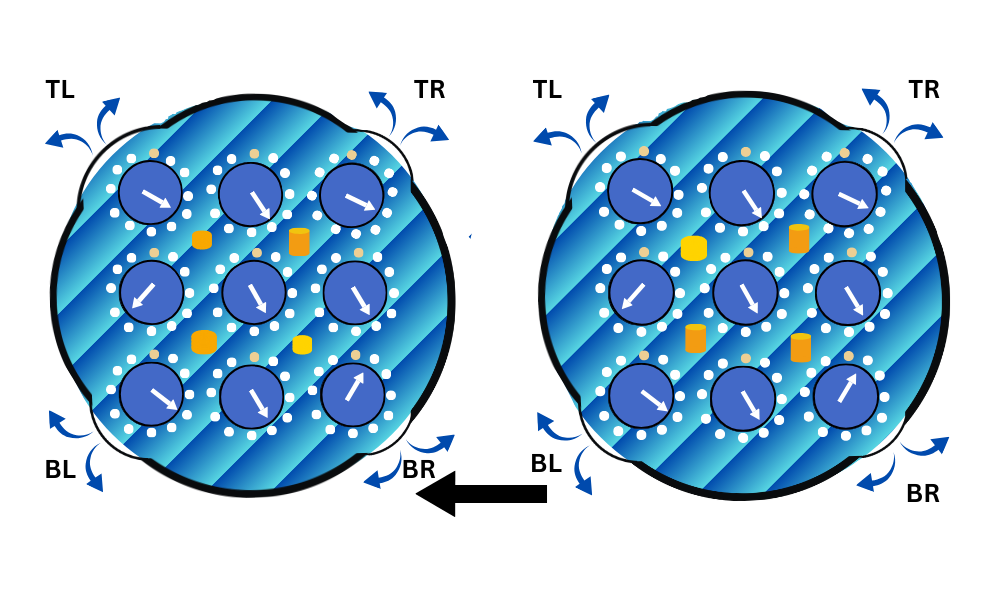
Step 2: Solving the First Side (Front Face)
- Align the Edge Clocks:
- Select two adjacent buttons (e.g., U and L) to press. This will fix the corner clocks but allow the edge clocks to move.
- Turn the top-left gear to align the edge clocks between these corners with 12 o’clock.
- Repeat this process for all sets of adjacent clocks by pressing the corresponding buttons (U+R, D+L, D+R) and rotating the appropriate gears until all clocks on the front face show 12 o’clock.
- Now align the Corners:
- Press all four buttons down to keep all gears unlocked.
- Align all four corner clocks on the front side (side you are looking at) to 12 o’clock by rotating any gear. Once aligned, release all buttons.
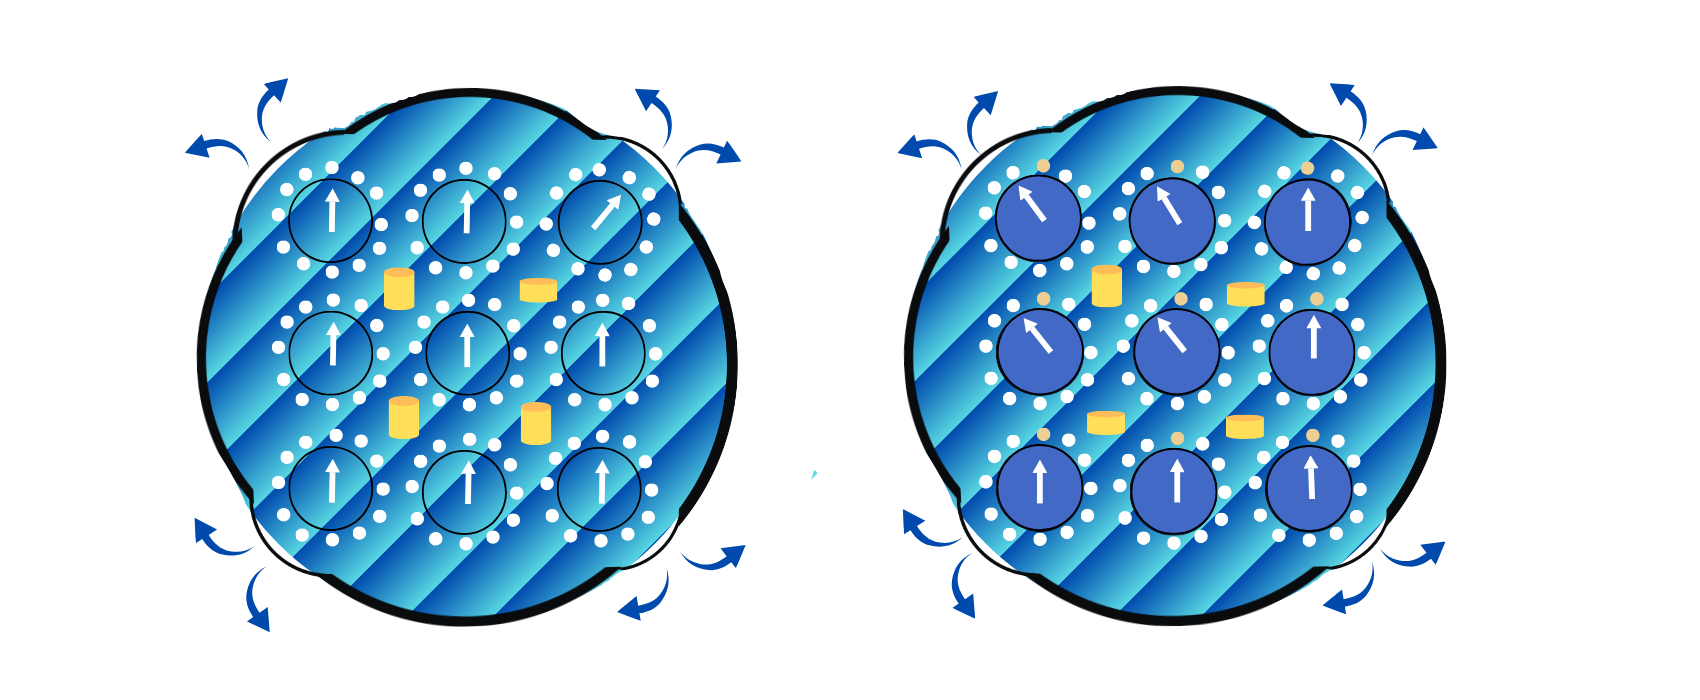
Step 3: Solving the Opposite Side (Back Face)
- Flip the Puzzle:
- Turn the cube to the back side (opposite to the front side you just solved).
- Align the Back Edges:
- Select two adjacent buttons (e.g., U and L) to press.
- Turn the corresponding gear to align the edge clocks to 12 o’clock.
- Repeat the process for all other sets of adjacent clocks (U+R, D+L, D+R) until all clocks on the back face are set to 12 o’clock.
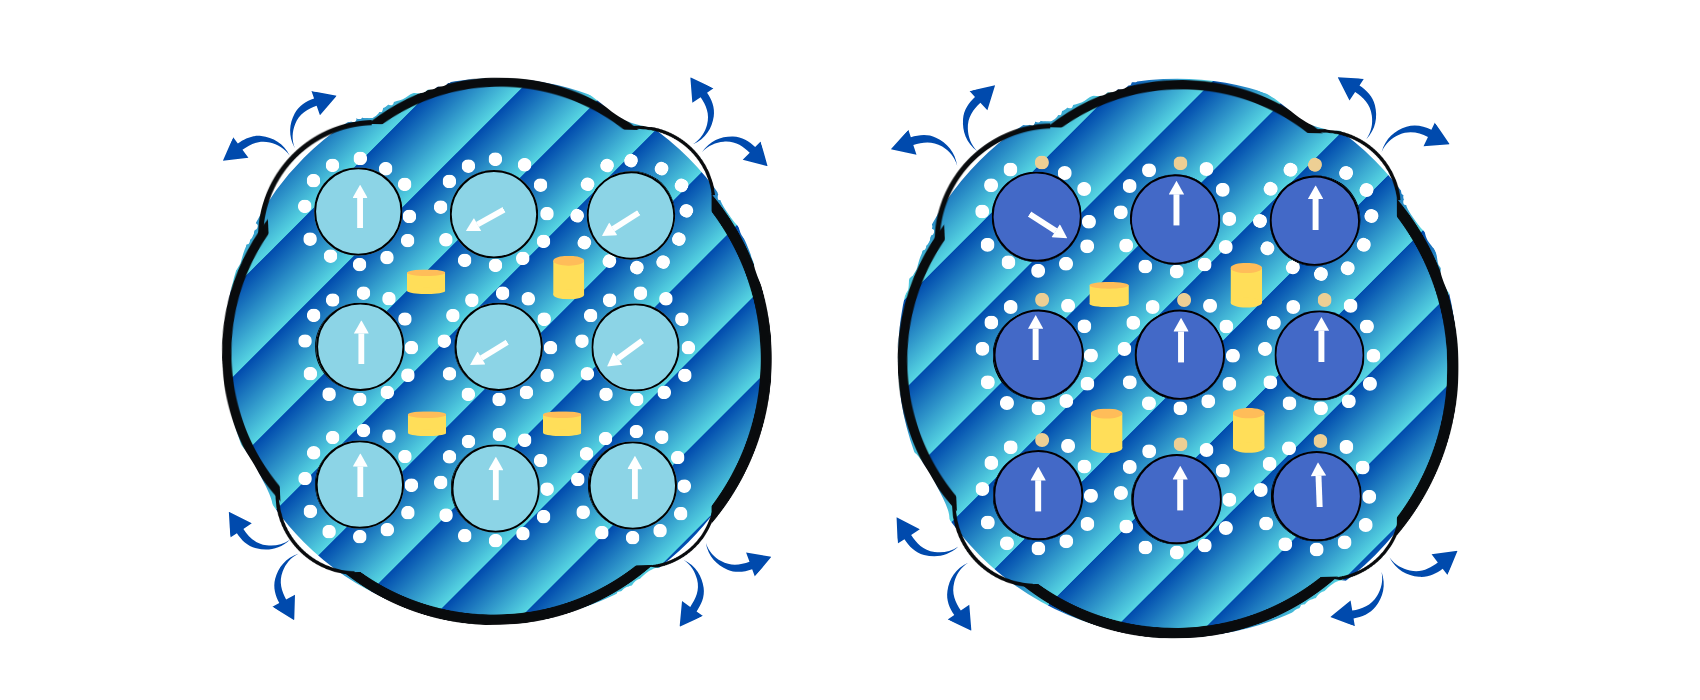
- Align the Back Corners:
- As before, press all four buttons down.
- Rotate any gear to align all four corner clocks on this side to 12 o’clock.
- Once aligned, release all buttons.
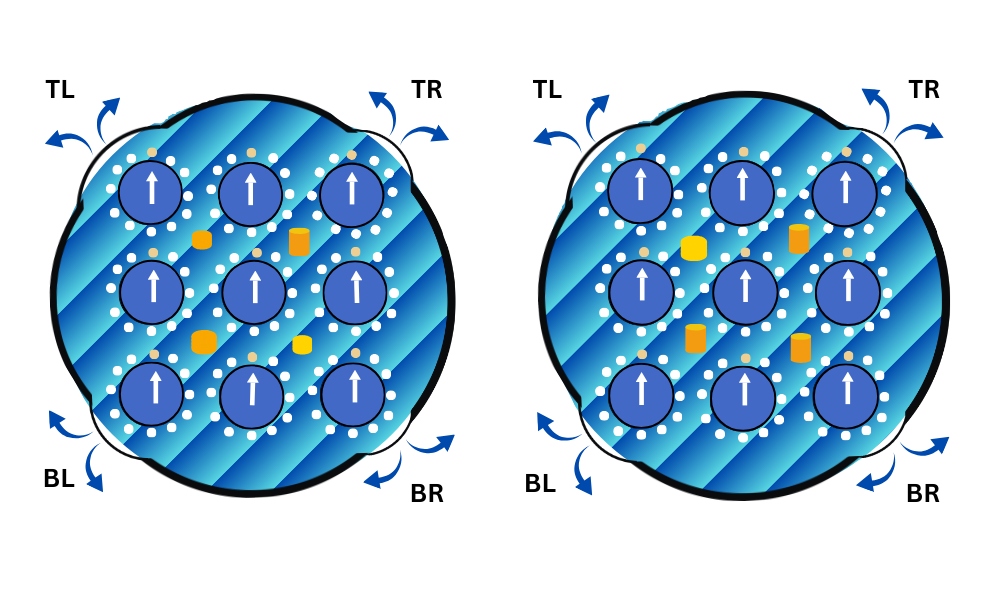
Step 4: Fine-Tuning and Solving Both Sides
- Ensure All Clocks Are Aligned:
- With all clocks on both sides pointing to 12 o’clock, make a final check. If any clock hands are misaligned, determine which ones and adjust them accordingly by pressing the appropriate buttons and turning the gears.
- Double Check and Make Final Adjustments:
- Press all four buttons simultaneously, and rotate any gear, if necessary, to ensure that both sides have all clock hands pointing to 12 o’clock.

Step 5: Solved State
- Once all clock hands on both sides of the cube are pointing to 12 o’clock, the puzzle is solved!
Tips for Solving the Clock Cube:
- Understand Button Presses: Each combination of pressed buttons affects different groups of clock faces, so understanding which buttons control which clocks is essential.
- Practice Gear Rotations: Get familiar with how rotating different gears affects the clock hands.
- Use Minimal Movements: Try to solve using the fewest moves possible to improve your solving time.
Conclusion:
This step-by-step method is designed to help you solve the Clock Cube efficiently. With practice, you will become faster and more comfortable with the button combinations and gear rotations. The Clock Cube provides a unique challenge that differs from twisty puzzles and mastering it will expand your cubing skills.