5x5x5 Cube Tutorial (Beginners Method)
The 5x5x5 Cube, also known as the “Professor’s Cube,” is a more complex version of the Rubik’s Cube with an additional layer compared to the 4x4x4. The 5x5x5 introduces more pieces to manage, including more center and edge pieces, and also involves parity errors unique to even-layered cubes. However, by following a structured step-by-step approach, even beginners can learn to solve this challenging puzzle.
Introduction
- Structure of the 5x5x5 Cube: The 5x5x5 cube consists of 150 pieces: six fixed center pieces, forty-eight movable center pieces (8 center pieces per face), twenty-four edge pieces (12 edges with two pieces each), and eight corner pieces. The fixed center pieces indicate the color of each face, while the movable center and edge pieces must be aligned correctly during the solve.
- Solving Approach: The 5x5x5 is solved in four main stages: 1) Solve the center pieces, 2) Pair the edge pieces, 3) Solve it like a 3x3x3, and 4) Handle parity errors (if any).
Step-by-Step Solution for the 5x5x5 Cube
Step 1: Understanding the Notation
The notation for the 5x5x5 cube is similar to that of the 4x4x4, with some added layers:
- R (Right): Rotate the entire right layer clockwise.
- r (Right Inner): Rotate the inner right layer (second layer from the right) clockwise.
- 3R (Third Right): Rotate the innermost right layer (third layer from the right) clockwise.
- L (Left): Rotate the entire left layer clockwise.
- l (Left Inner): Rotate the inner left layer (second layer from the left) clockwise.
- 3L (Third Left): Rotate the innermost left layer (third layer from the left) clockwise.
- U (Up): Rotate the entire upper layer clockwise.
- u (Upper Inner): Rotate the inner upper layer (second layer from the top) clockwise.
- 3U (Third Up): Rotate the innermost upper layer (third layer from the top) clockwise.
- D (Down): Rotate the entire down layer clockwise.
- d (Down Inner): Rotate the inner down layer (second layer from the bottom) clockwise.
- 3D (Third Down): Rotate the innermost down layer (third layer from the bottom) clockwise.
- F (Front): Rotate the entire front layer clockwise.
- f (Front Inner): Rotate the inner front layer (second layer from the front) clockwise.
- 3F (Third Front): Rotate the innermost front layer (third layer from the front) clockwise.
- B (Back): Rotate the entire back layer clockwise.
- b (Back Inner): Rotate the inner back layer (second layer from the back) clockwise.
- 3B (Third Back): Rotate the innermost back layer (third layer from the back) clockwise.
- Wide Turns (w): Rotate two or three layers simultaneously in the direction indicated (e.g., Rw means turning both R and r layers).
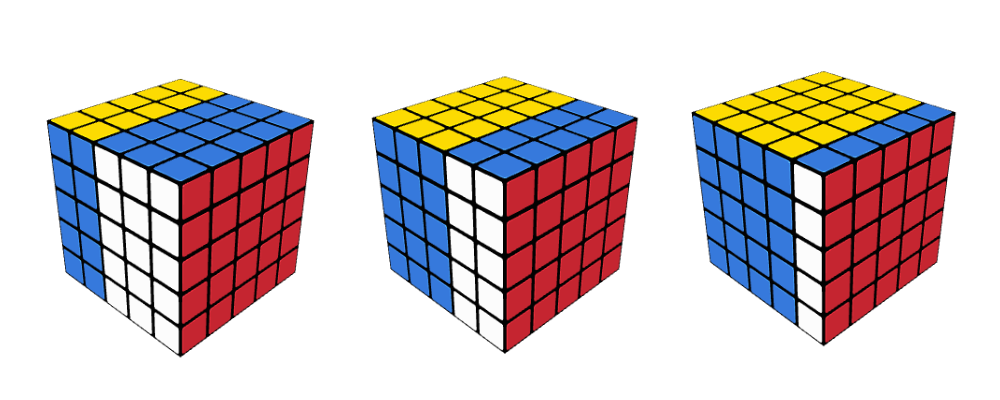
Step 2: Solving the Centers
- Solve the White Center:
- Start by solving one center face completely. Focus on moving the eight white center pieces together using inner and outer layer moves without disturbing the previously solved ones.
- Use the following technique to bring two white centerpieces together:
- Move Pair Algorithm: r U r’ U’
- Gradually group the white centerpieces until the entire white center is solved.
- Solve the Opposite Yellow Center:
- Move to the opposite side (yellow) and solve the yellow center in the same way.
- Be careful not to disturb the already solved white center. Utilize wide moves to shift yellow centerpieces into position without affecting the white center.
- Useful Algorithm for Yellow Center: u’ Rw U Rw’
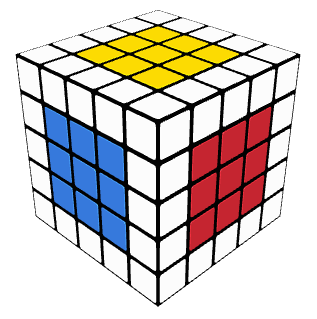
- Solve the Remaining Four Centers:
- Solve the four remaining centers (green, blue, red, and orange) one by one.
- Pair two pieces of the same color together and place them next to each other. Align them using inner slice moves, and then insert them into their respective positions.
- Centerpiece Swap Algorithm: 3L U l’ U’ 3L’
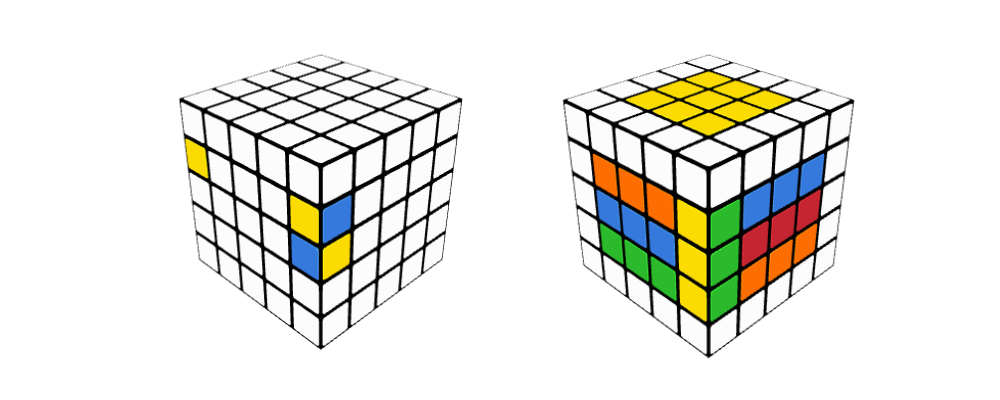
Step 3: Pairing the Edges
- Pair All 12 Edge Groups:
- Identify two matching edge pieces and bring them together using inner slice moves.
- Use algorithms to align and pair all edge pieces without disturbing the centers:
- Algorithm to Swap Edges: If an edge is misaligned, use: l’ U L U’ l
- Continue Edge Pairing:
- Repeat the above algorithm to pair all twelve edges correctly.
- This may require patience and practice as you manipulate multiple layers to position edges.
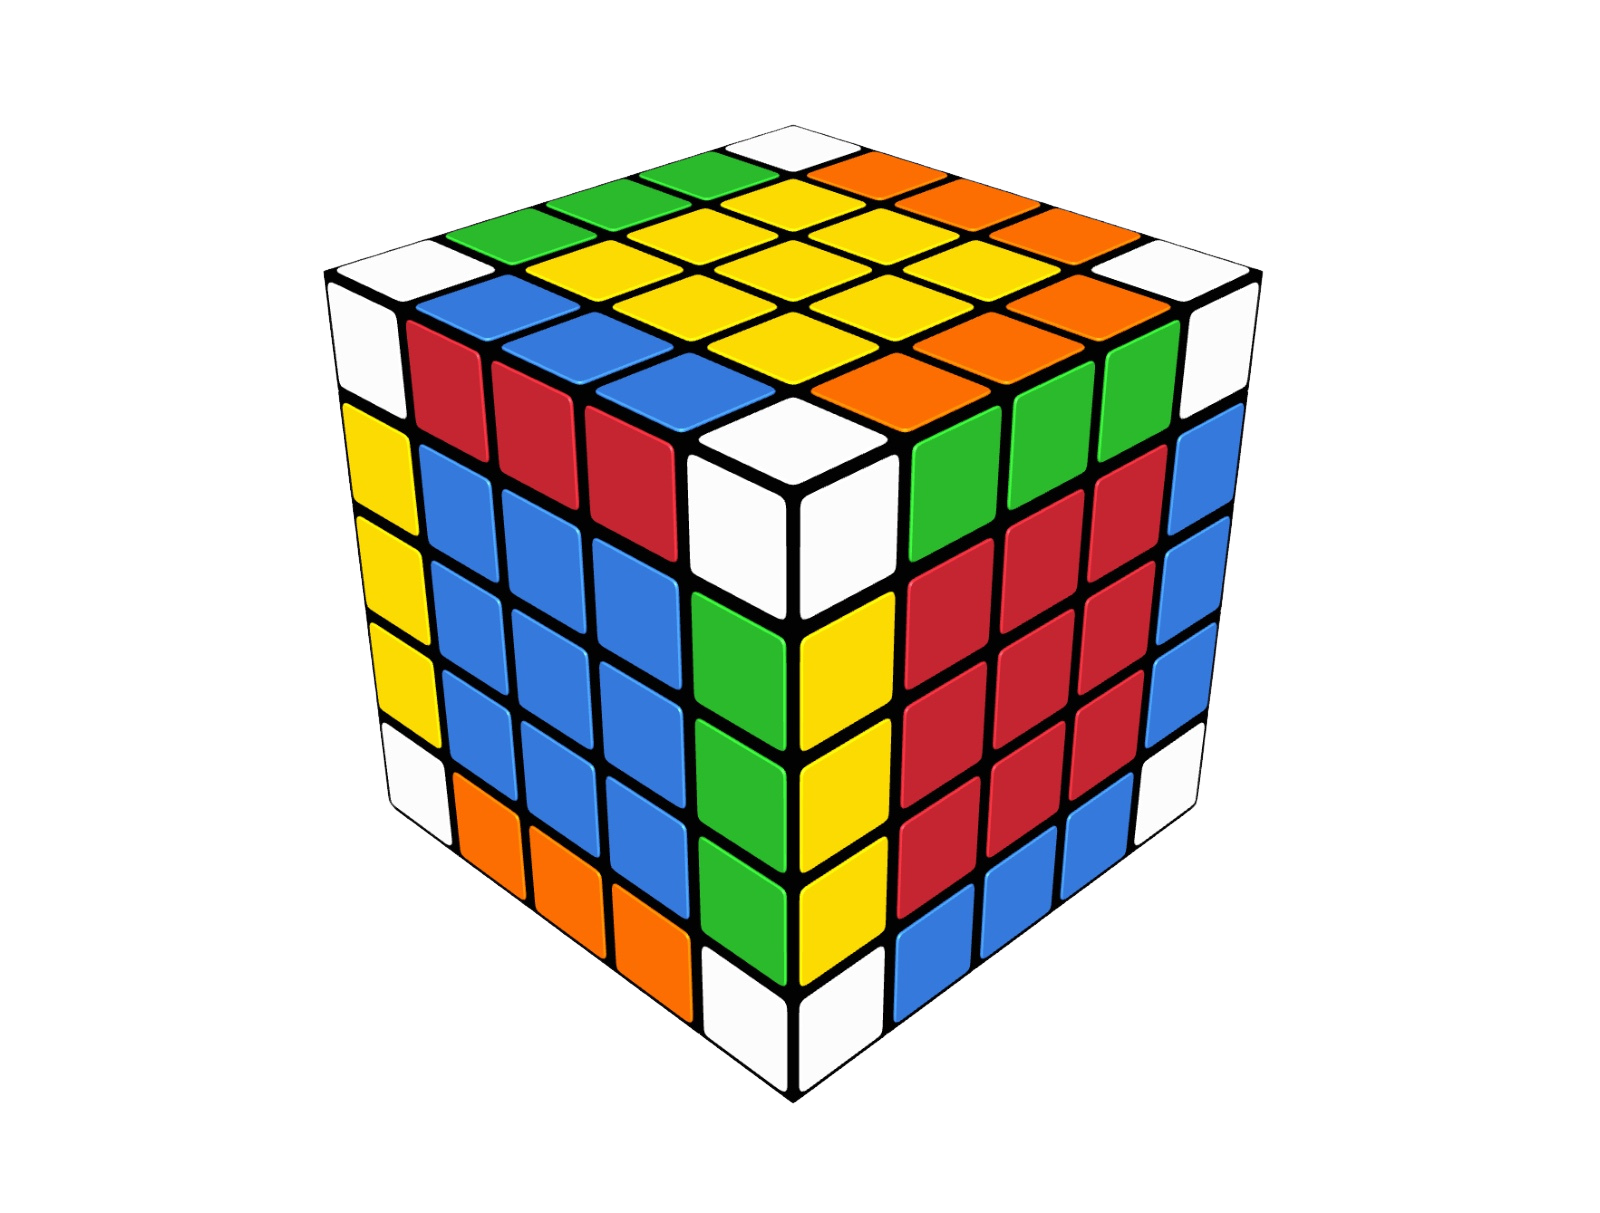
Step 4: Solve Like a 3x3x3 Cube
- Solve the First Two Layers (F2L):
- Now that the centers are solved and edges are paired, the cube can be solved like a 3x3x3.
- Solve the first two layers using the standard F2L method. The paired edge pieces act as single edges.
- Orient the Last Layer (OLL):
- Use the 3x3x3 OLL algorithms to orient the last layer.
- Possible OLL Parity Case:
- If there is an OLL parity (one edge piece is flipped incorrectly), use the OLL parity algorithm to correct it:
OLL Parity Algorithm: r U2 l F2 l’ F2 r2 U2 r U2 l’ U2 r’ U2 r2
- If there is an OLL parity (one edge piece is flipped incorrectly), use the OLL parity algorithm to correct it:
Step 5: Permute the Last Layer (PLL)
- Permute the Last Layer:
- Use the 3x3x3 PLL algorithms to permute the last layer.
- Possible PLL Parity Case:
- If there is a PLL parity (two pieces are swapped incorrectly), use the PLL parity algorithm to resolve it:
PLL Parity Algorithm: Rw2 F2 U2 r U2 Rw’ U2 l U2 Rw U2 F2 Rw2
- If there is a PLL parity (two pieces are swapped incorrectly), use the PLL parity algorithm to resolve it:

Additional Notes and Exceptions:
- Parity Errors:
- OLL Parity: Occurs when a single edge is flipped, which is impossible on a 3x3x3. This requires the OLL parity algorithm.
- PLL Parity: Occurs when two edge pieces are swapped incorrectly. Use the PLL parity algorithm to fix it.
- Handling Complex Moves:
- Be mindful of the wide turns (w) and inner layer moves. These are essential for solving the 5x5x5 and handling parity cases.
- Centerpiece Orientation:
- As with the 4x4x4, the 5x5x5 does not have fixed centerpieces. You can move the centers around freely during the initial stages of the solve.
Tips and Tricks:
- Practice Center Solving:
- Spend time practicing the technique for solving centers as it forms the foundation of your 5x5x5 solve.
- Learn Key Parity Algorithms:
- Memorize the OLL and PLL parity algorithms to quickly solve parity issues that arise during the solve.
- Use Efficient Finger Tricks:
- Incorporate finger tricks to execute algorithms faster and improve your overall speed.
- Stay Organized:
- Avoid confusion by keeping track of color schemes and memorizing the positions of each center and edge piece.
Conclusion:
Solving the 5x5x5 cube requires patience, practice, and attention to detail. By following this beginner’s method, you can systematically solve the cube by understanding its structure, learning the necessary algorithms, and practicing the steps outlined above. With time and effort, you will improve your solving speed and become proficient in handling this challenging cube.